


How To Fit Sliding Wardrobe Doors
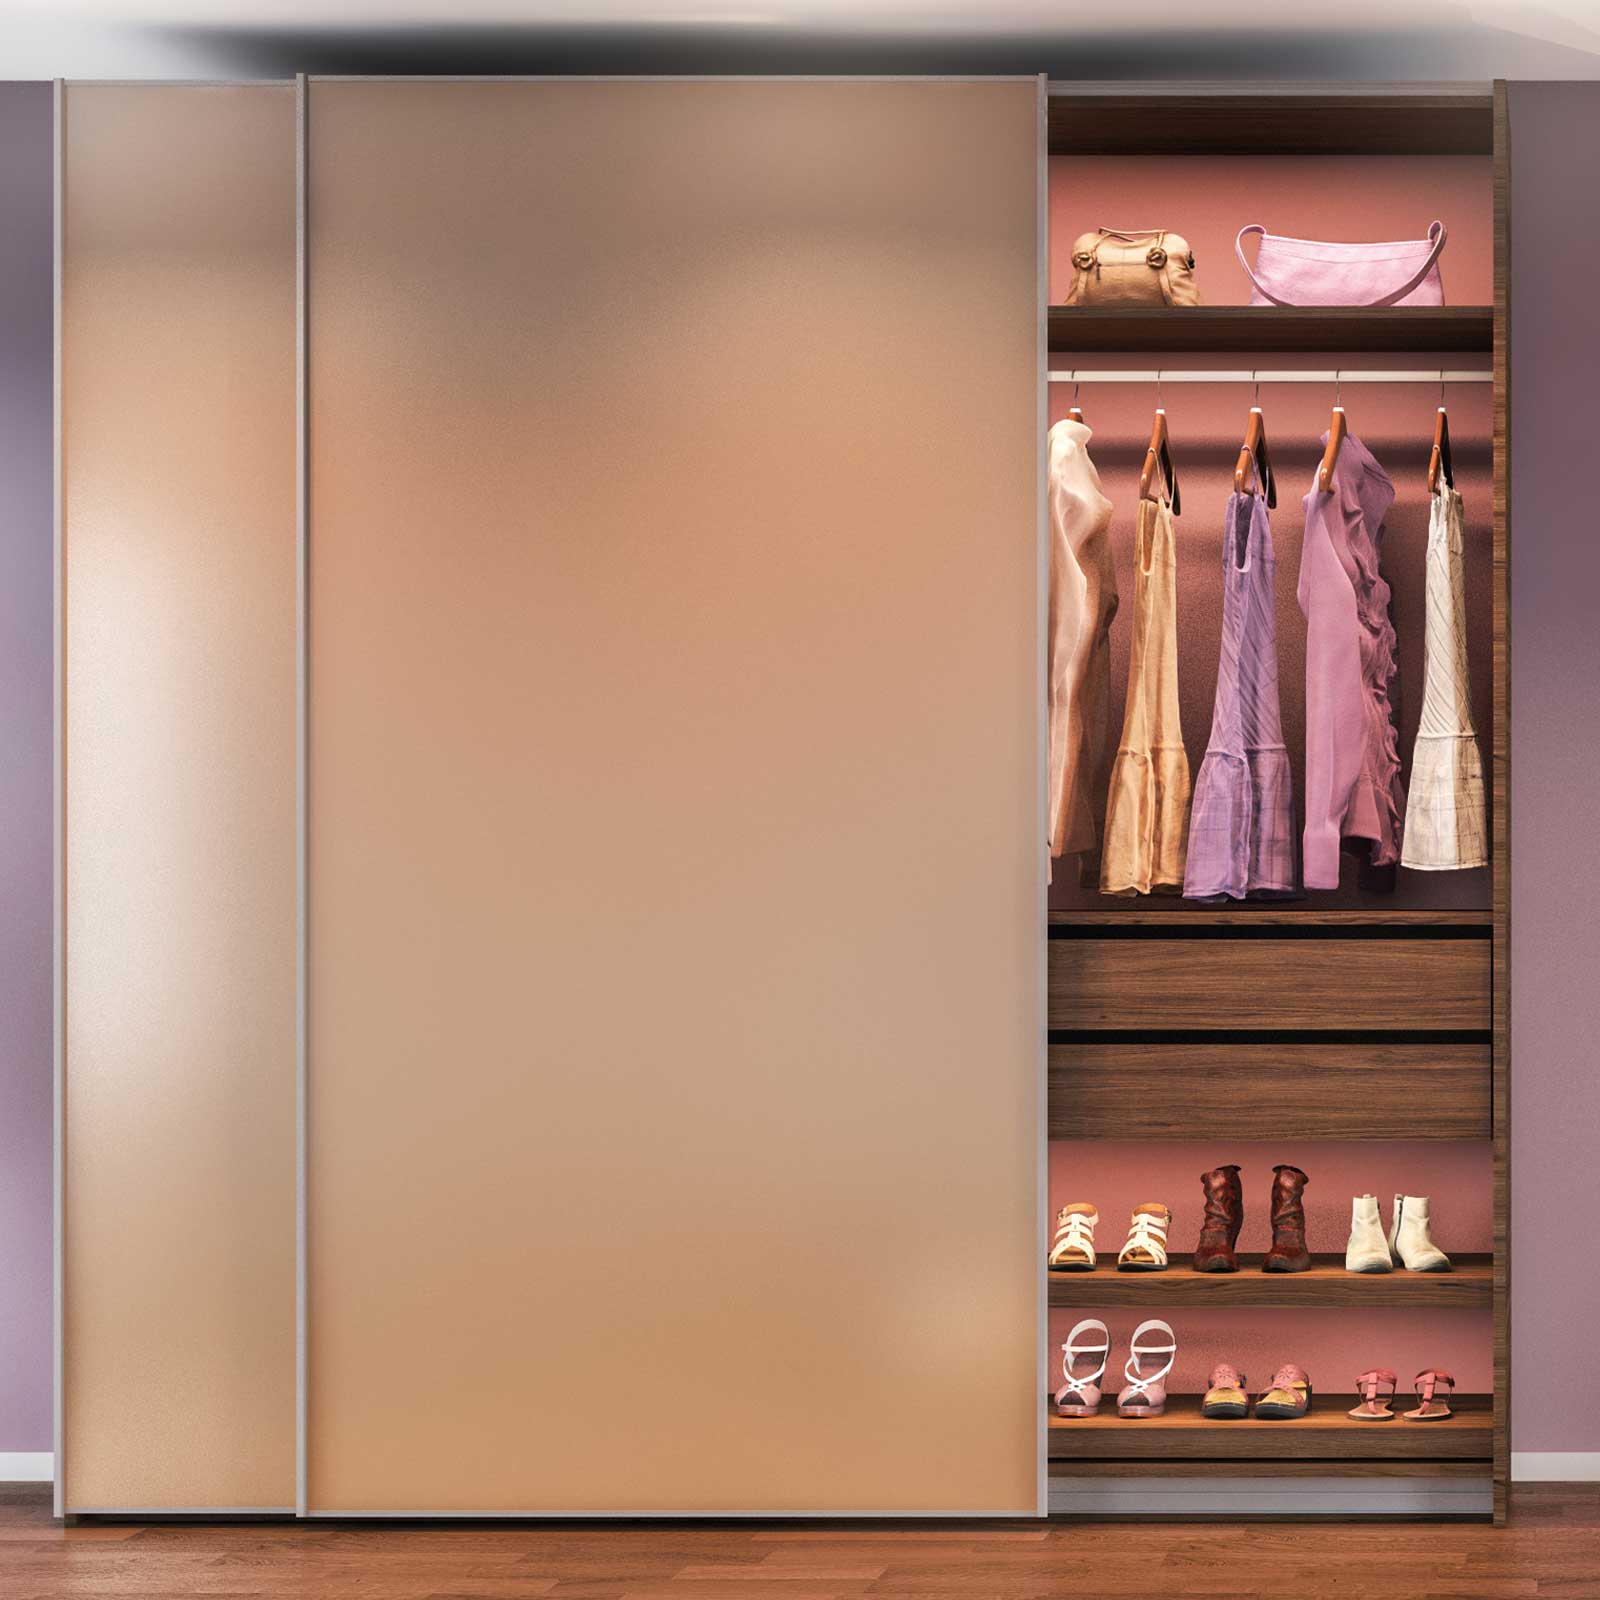
Sliding wardrobes work wonders in saving your client’s space in the bedroom. Proper installation will keep your clients happy with your service for years to come. That is why we have a step by step guide with top tips to guide you along the way.
Choosing the Right Gear
 When installing doors, having quality gear is a must. Sliding wardrobe tracks and runners are available in a range of options, from soft closing to flush. The doors you choose will vary depending on your client’s needs. However, pivot or flush doors are often a fan favourite as they provide better access to the wardrobe.
Your chosen tracks and runners will need to be suitable for the doors you are using, which includes being mindful of the weight requirements.
Top Tip: Soft closing gear will have a weight requirement to achieve that satisfying closing movement. Check the weight of your doors before purchasing your gear.
Before the Installation
There are a few steps that should be taken before you begin the installation process.
1. Set up the interior of the wardrobe, including any shelves. This will be much harder to do once the doors are installed.
2. Make sure the area where the sliding doors are being installed is level. This is to ensure smooth running.
3. Line up all the materials that will be needed for the job.
This includes:
- A pencil
- Spirit level
- Panel adhesive
- A drill
- A screwdriver bit for your drill
- Countersunk screws
- Tracks and runners
Step 1: Fitting A Wall Liner
While every gear kit is going to vary depending on the preferred functionality, we have created a universal step by step to assist you along the way. Please read the instructions that have arrived with the kit you purchased as well.
Top Tip: Whenever possible, avoid placing the bottom liner directly onto carpet. This will increase the possibility of issues post-installation.
The first thing you will need to do is cut the liner to size based on your fitting instructions. After it has been sized, ensure the area is perfectly level.
Now, you will need to check your fitting instructions for exact measurements as sizing may differ. Once you know your drill size and correct areas, you can place the bottom track exactly where it needs to go.
If the position is perfect, you can now screw the bottom liner down using countersunk screws.
Step 2: The Top Track
 The tracks (or runners) are the pieces that allow the doors to glide. Getting them in the right position is simply a must.
Begin by drilling pilot holes into your top track, this will make for a smoother installation.
Position your track 2mm from the front edge of either the wall liner or end panel and use your pre-drilled holes to mark their positioning.
Top Tip: Before drilling into a wall, ensure there are no wires or pipes where you plan to go! Now screw the track into place gently. Over tightening can cause the track to bend or break.
Step 3: The Bottom Track
The bottom track will vary depending on your client’s preferred style. However, you will need to prepare all of your tracks by drilling holes to ready them for placement.
Now that the holes are ready, you can drill your track into place, keeping any extra space that is needed for your specific tracks clearly marked. Continue to use a spirit level throughout this time to ensure that everything is level.
Step 3: Installing the Sliding Wardrobe Doors
 Soft closing doors will require a read of the manual. Fitting the sliding doors onto the track can be done as listed below.
Begin by tilting the doors into the top wheels of the track. Once completed, insert the bottom rollers into the bottom track. You will need to repeat this process for each door you are installing.
Top Tip: If you are installing 3 doors into your wardrobe, the outer doors will go on the back track. Only the middle door will be placed onto the front track.
Tips for Trade
![]() At Hӓfele, we offer incredible products and support for tradespeople. If you need more assistance with some of our products, please do not hesitate to get in touch with our team of experts.
At Hӓfele, we offer incredible products and support for tradespeople. If you need more assistance with some of our products, please do not hesitate to get in touch with our team of experts.
We even have a Sliding Specification team ready to assist you with all of your needs!


