How To Replace Kitchen Worktops
Replacing a kitchen worktop should always be done by a professional as it takes time and a high level of skill. In this article, we will share some important questions to ask yourself and your clients. There will also be quick reminders of the tools needed, and a top-level look at the steps it takes to properly replace kitchen worktops for your clients – ensuring the countertop is safe and functional after installation.

Step 1: Explore the Options with Your Clients
When exploring the different kitchen worktop possibilities, there are a few questions you should ask your clients to help you find the perfect piece.
- What is the worktop being used for?: The answer to this can help you narrow down the material that would work best.
- What is the aesthetic? Modern kitchens and maximalist designs will, most likely, lean to different colours and textures.
- How much use will it get? This is important when exploring the warranty and tolerance available. Our worktops have this information in their description.
- Do you need a matching splashback? If you are redesigning an entire kitchen, it’s important to understand the entire look.
Step 2: Measure Accurately
This vital step begins with a measuring tape, a pencil, and a piece of paper. It is important to measure everything twice and ensure you have the same measurements both times – so you cut at the right spot.
- Size and Shape: Consider the shape and size you are going to create. Is it going to be different from what your clients currently have in that space?
- Ensure it is flush: Consider the bumps and grooves that lie on the wall that you will be working with. Is there anything you need to do to assist the countertop to lie in line with this?
- Consider the overhang: When measuring the amount of worktop you will need, remember to account for the overhang.
Step 3: Remove the old countertop
 Carefully removing the current countertop and ensuring the structure below is in tip top share is vital.
- Shut off water and gas lines: It is important to shut off these lines and work very slowly to avoid creating any leaks during this process.
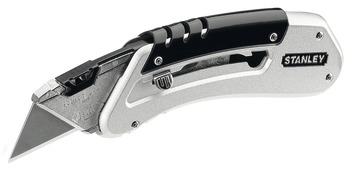
- Caulking: Slice through the caulk with a pocketknife
- Bring in the new: Detach fasteners on the old countertops and completely remove the counters to allow room for the new ones.
Step 4: Scribing the worktop
This step ensures a perfect fit and is a key step.
- Creating the block: Start by pushing the new worktop to the wall and measure the largest gap you can find as the width for your scribing block, then cut a piece of wood to that width.
- Using the block: Use your scribing block to line the countertop to where you will be cutting.
- Sinks: Measure for sinks and any other features that will need to be accounted for during this step too.
- Cutting: Remember to cut carefully and use protective equipment. You will need to repeat this process for as many sections as you will be creating. We recommend taping before you cut to prevent any chips.
Step 5: Join the lengths into a straight line
 This part is focused on getting all your pieces sitting nicely together.
- Fixing Plates: Take your two, pre-cut pieces, and secure them together with fixing plates. You will need to apply some pressure from the top when drilling them into place to ensure they are placed together tightly and correctly.
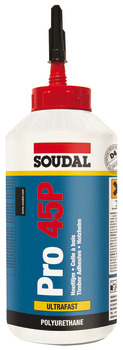
- Glue it together: Then, apply wood glue to the edge of one worktop and push the two together. Make sure to wipe away any excess for a clean finish.


