


How To Fit a Gate Latch
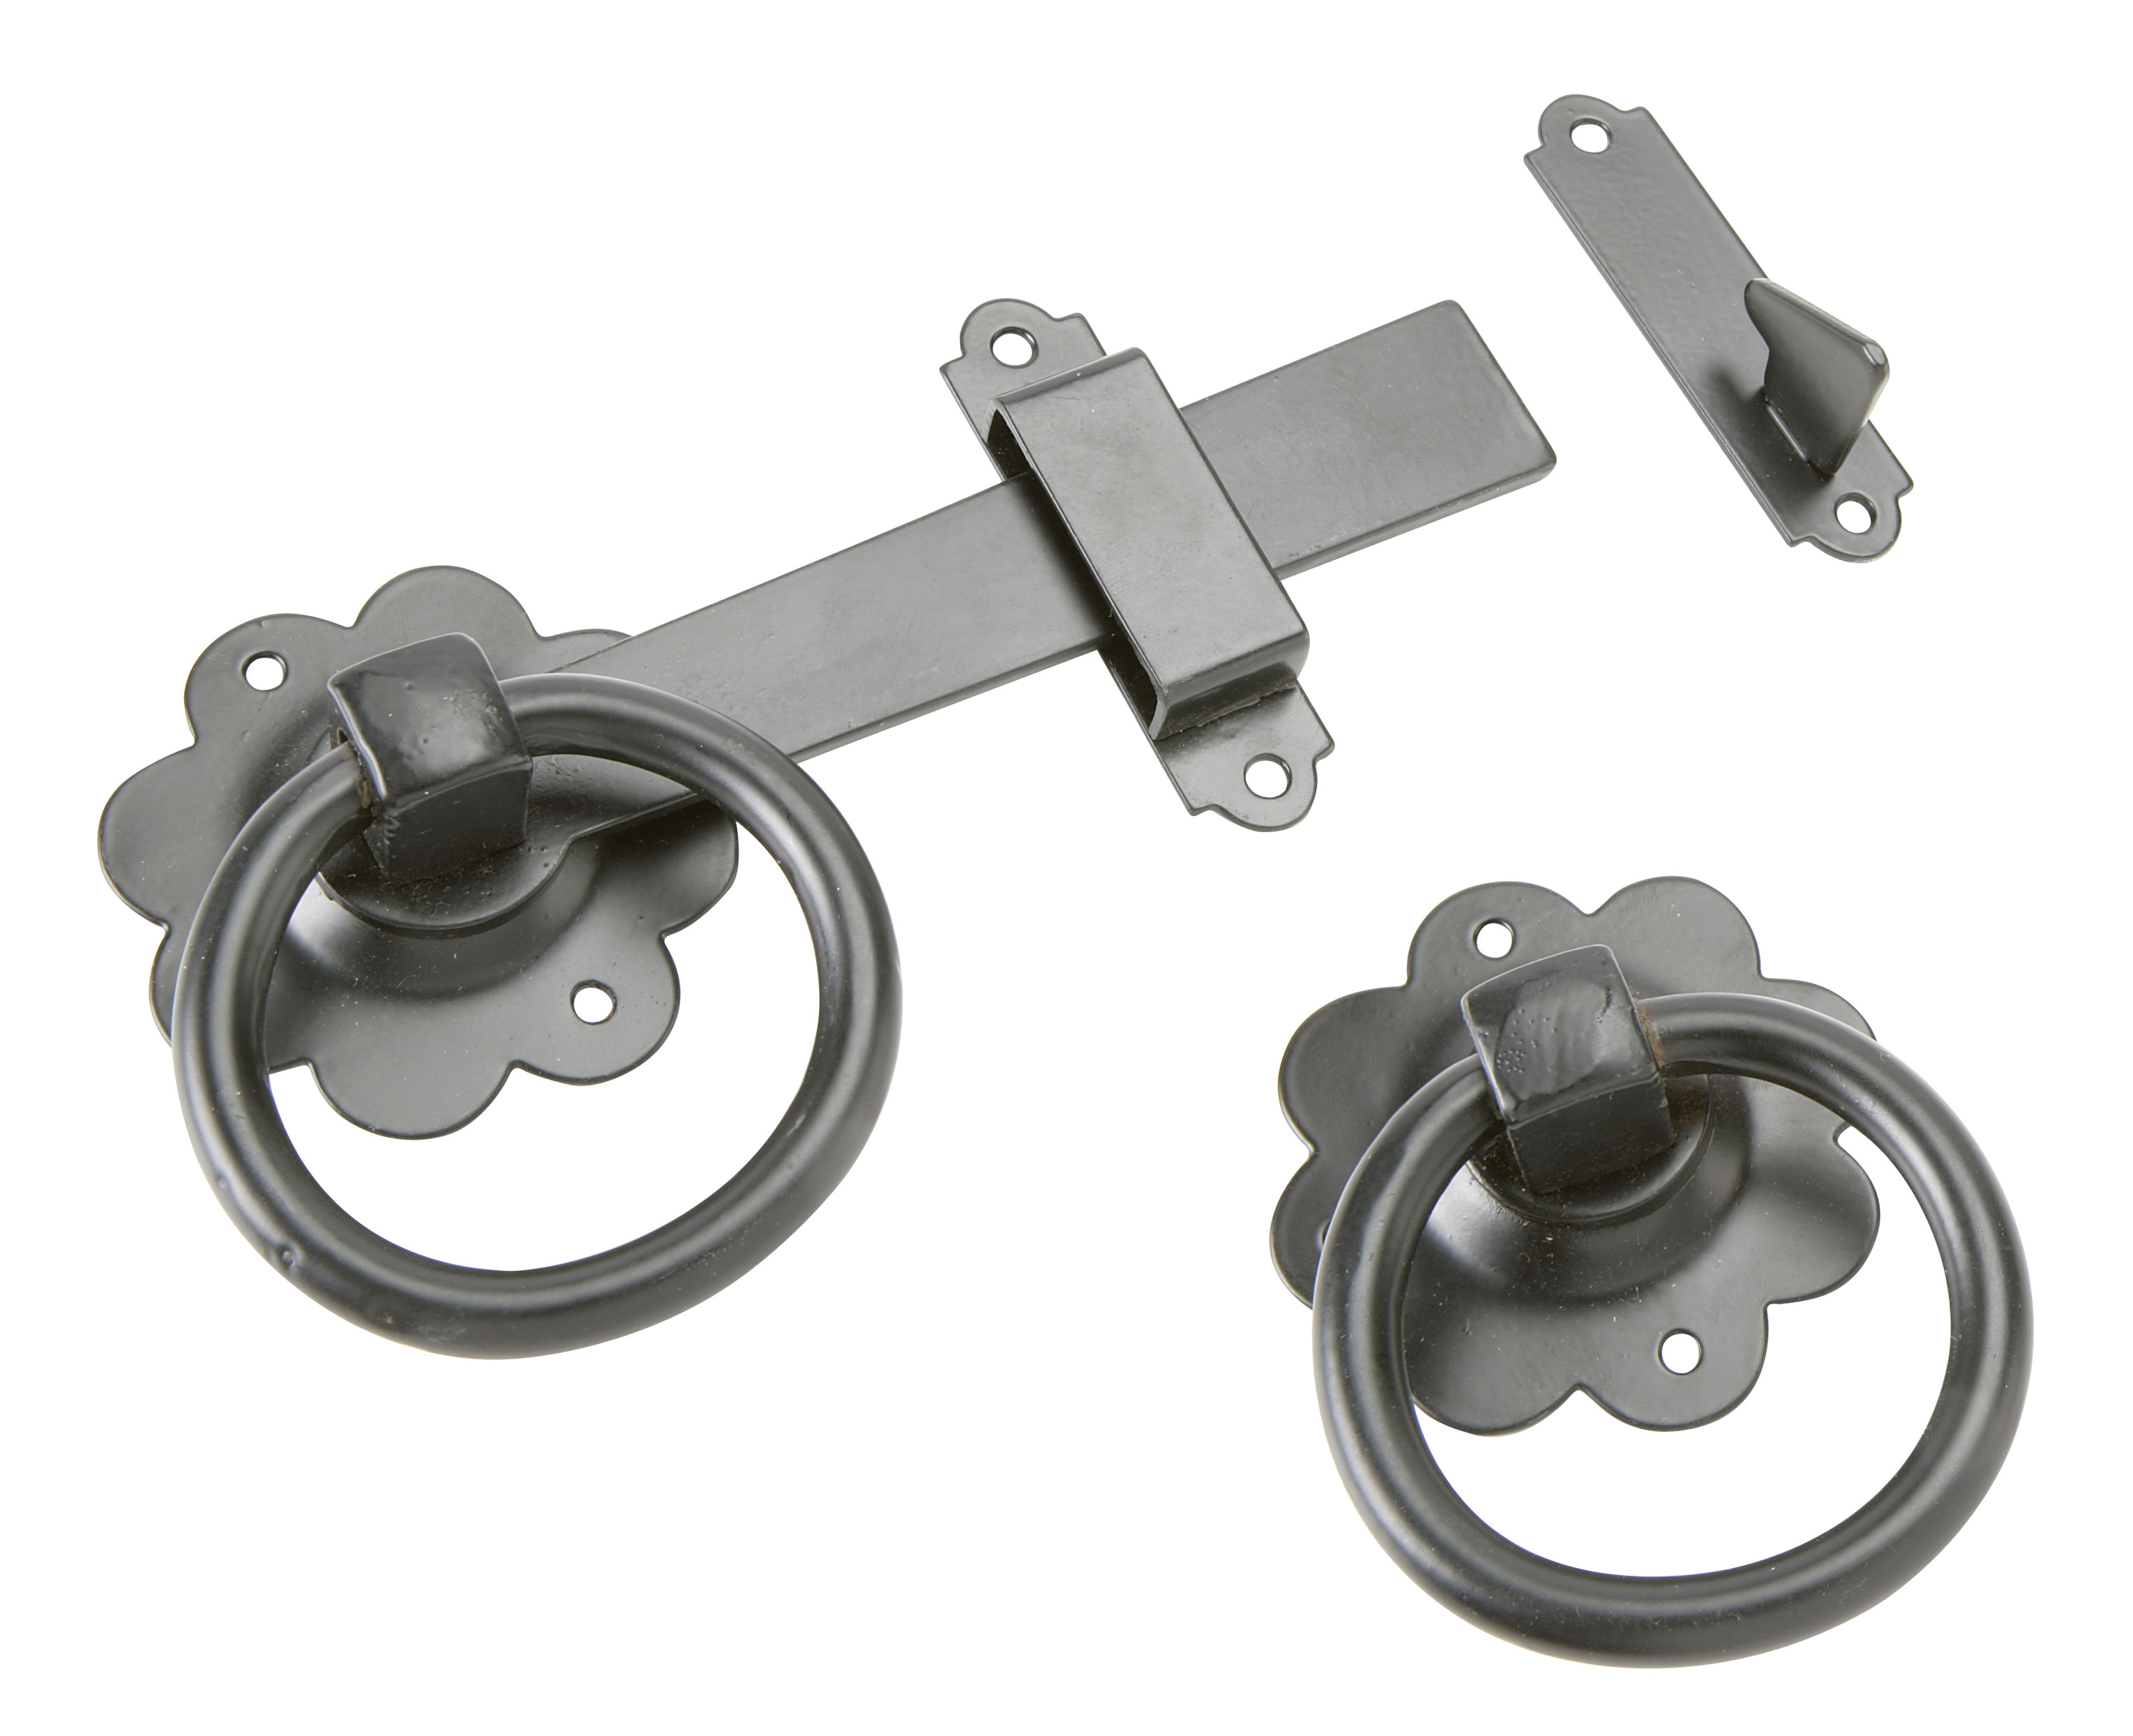
Gate latches can stop doors from swinging open and add extra security to your customers property. Proper installation is key to ensuring long-lasting quality. In this article, we will share top tips on how to properly fit our ring gate latches to support you with your next project.
If you have purchased a different latch, you can still learn important information from this step by step guide and apply it to your unique fitting.
 Step One: Preparation
Start by checking your material. Once you have familiarised with the components you will be installing, head over to your gate with your items, a measuring tape, and a pencil.
Looking at the gate, identify the post and gate that you will be drilling into. Now, work out the height you would like your latch to lie on the gate.
After you have located exactly where you would like to secure your latch – grab your pencil.
Using your pencil, you will need to mark each of the screw holes from your handle onto the gate. This will help you identify where you need to drill later.
Note: If pencil marks do not appear on the material your gate is made from, you may prefer to use a paint pen.
Once you have clearly marked the different screw holes, use your pencil to connect them, making a shape in the middle of where they meet (we like to place an X but you may prefer a circle or something else). Wherever the centre of this line lies is where you will drill.
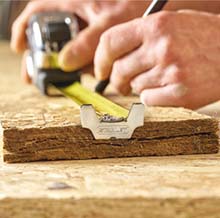
Step Two: Drilling 
Based on the size of the latch you will be installing, identify which drill bit is best to use for the job and begin to drill in the centre of the screw holes with the shape we identified at the end of step one. Keep your hand steady during this time as we will need a clear, straight hole to place the rod into.
Once this hole has been drilled you can attach the piece of the gate latch that holds the latching mechanism by drilling both screw holes we had marked earlier into place.
Now, head to the other side of the gate and insert your rod. This will be covered by the other ring handle that was found in the packaging.
 Step 3: Sizing the Handle
Measure the amount of space between the end of the rod while allowing some wiggle room for the handle to cover the rod with. You can mark both of these sections, measure the distance, and then cut accordingly.
Now that this has been cut to size, head back to your gate and secure this over your rod by screwing it into place.
Step 4: Adding the Hook
Start by placing your latch holder on the same side as the latch. Make sure the holder has the narrow side facing down and that it allows room for the latch to lift.
Once that is drilled into place, you will need to fit the latch hook. Measuring precisely is key. Test run the mechanism a few times before drilling it into place.
Now that it has been secured, you are ready to enjoy the newly installed gate latch. Great work!


