


How To Install Cabinet Hinges
When installed properly, cabinet hinges can assist in protecting the user and the cabinet door itself, for years to come. In this article, we will take a look at some of the most common hinges available and give you top tips on proper installation.
How to Install Concealed Cup Hinges
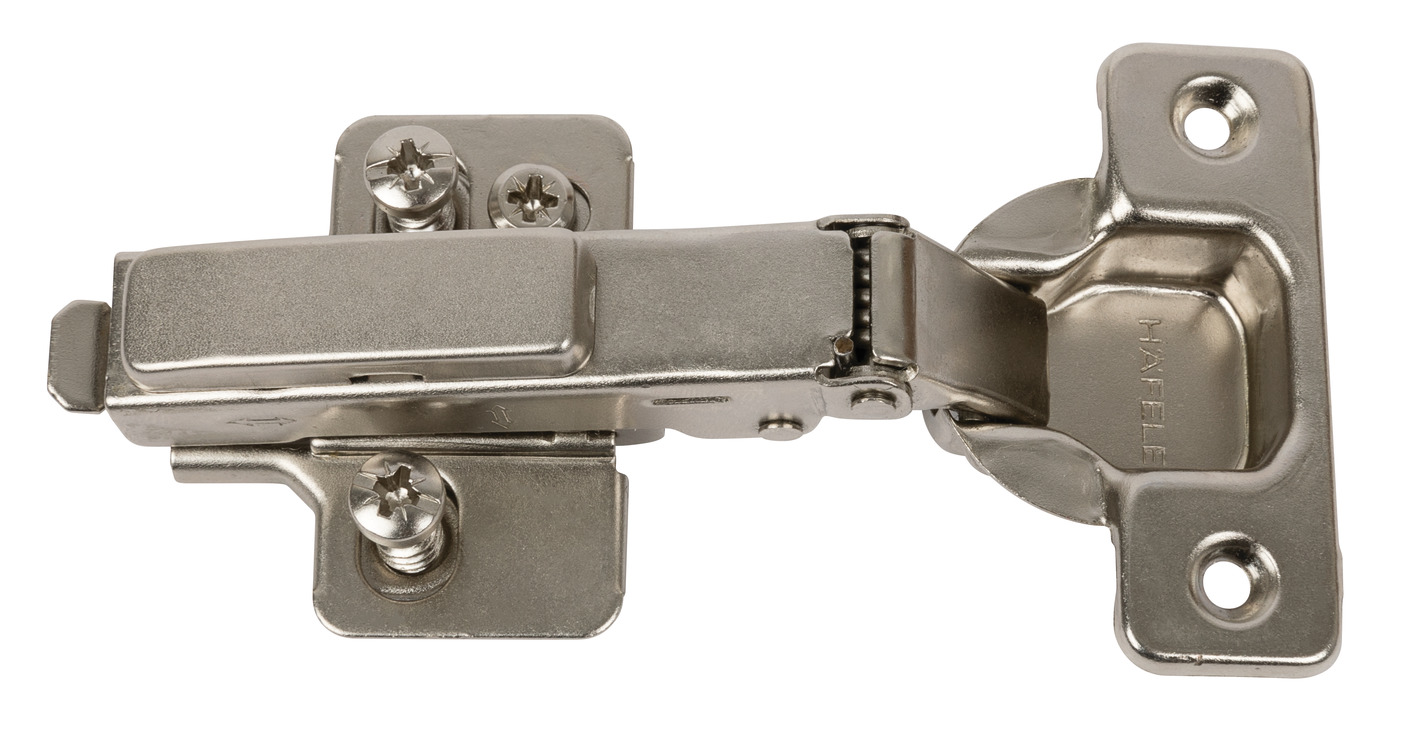 The Concealed Cup Hinge is a great option for any home project. The cup keeps the piece secure and the whole mechanism is hidden from view on the outside. It can be used in kitchens, bedrooms, bathrooms and more, without impacting the aesthetic of the chosen door itself. Find a range of soft closing You can find the hinges and screws, as well as measuring tape and other equipment at Häfele to help you with your installation.
- Step 1: At Hafele we offer helpful tools and guides to help you mark the holes right, every time. However, if you do not have this to hand, you can mark the door using a pencil and ruler to find where you would like the cup to lie.
- Step 2: Drill the cup holes slowly and have your hinge to hand to ensure it fits. Remember, you can always cut more later, but it will be challenging to replace it if you’ve cut too deep.
- Step 3: Using a drill, install the hinge cups to the door.
- Step 4: Using a pencil and a ruler, mark the inside of the cabinet where the mounting plate will lie.
- Step 5: Using a drill or screwdriver, install the mounting plate into place using your guide.
- Step 6: Attach the door to the cabinet.
How to Install Butt Hinges on Cabinets
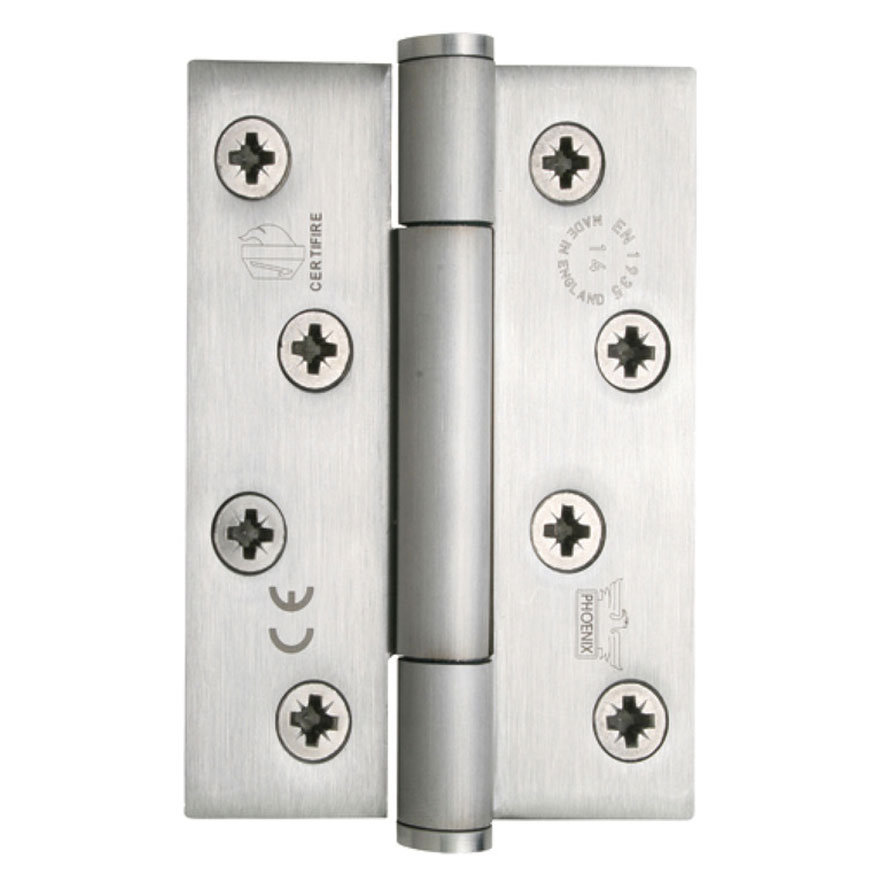 Butt Hinges are reliable and durable, they also offer a clean look. For this installation process, you will need a marking knife, tape measure or ruler, chisel or router, and drill or screwdriver.
- Step 1: Measure the mortise, width, length, and depth.
- Step 2: Using a chisel or router, remove the waste in the space you have just measured.
- Step 3: Fine tune the mortise to ensure your hinge has a perfect fit. Remember to work slowly.
- Step 4: Attach the hinge to the door
- Step 5: Mark the cabinet. Having a spare hinge of the same size can make this process a breeze.
- Step 6: Install the door and finalise the fit by making any minor adjustments.
Flush Hinges
 A simpler installation process, Flush Hinges can be added to doors quickly with no need for a router or chisel. However, a drill, screws, pencil, and ruler are necessary.
Step 1: Mark the area in which the hinge lies flat and parallel with the surface.
Step 2: Drill guide holes into your door to mark where you would like the screws to be placed.
Step 3: Place the hinge in line with the guide holes and fasten it into place, securely.
Step 4: Install the side directly into the cabinet using guide holes followed by the screw.
How to Adjust Cabinet Hinges
Once your hinges have been installed, you may need to make some slight adjustments to ensure the door is opening and closing properly and aesthetically pleasing from the outside. For all hinges, you can adjust and tweak the positioning by manipulating the screws.
When it comes to a concealed cup hinge, the front screw will move the door in and out, the back screw moves front to back, and the middle screw up and down. This process is very simple and will finesse your look every time.
Installing Cabinet Hinges
There are an extensive range of hinges available at Häfele, including Soft Close Hinges and Self Closing Hinges, and every type and size will have its own particular needs for installation. The information above should be used as a guide to help you find that perfect fit.
As always, if you need any assistance in identifying the correct type of hinges or installation pieces, the Häfele team is here and ready to help you with your next project.


